New Nursery Curtains

These arrived the other day. They go perfectly with the room.

The NES Arcade

The NES Arcade.

NES Cartridge Star Kade

A full fledged gaming console squeezed into a cartridge.

Friday, September 30, 2011

Chips Ahoy!

Well here it is. The chip I've been waiting for.

This is the chip that will allow me to convert the N64 controller to USB...or in my case NSB. It also works with gamecube controllers as well. I'm sure Ill be busy working on this come tomorrow sometime.

Friday, September 23, 2011

I just got Zapped!

No it wasn't an electric shock I just received. It's the Nintendo ZAPPER!!!! Yeah!
Just picked one of these up while I'm waiting for my N64 chip to come. Which should be sometime next week. Ahhhh... the good old Nintendo Zapper. Not only did it look awesome, but the trigger clicking was amazing. To rig this bad boy up to the NES I'll be using the AimTrak kit from Ultimarc So it should be epic to say the least.

In other news...I'm considering(which usually means I'll be doing) a 4 score NSB hub. If you are wondering what the heck a 4 score is...I'll show ya.

With this bad boy I'd be able to have 4 players. Now how awesome would that be! Bomberman...here I come!

Just recently made the worst trade ever in the history of video games. While on my search for an N64 controller, I had purchased another (this time working) Nintendo with Blades of Steel for $5. I had soon come had soon come to realize that there wasn't any N64 controllers as I scoured this huge flea market. Upon leaving I had ended up finding one. The only problem was is that it was with the system. I ended up having to trade my NES and $10 for the stupid thing...just the controller...not the system. Which makes me the biggest idiot ever for doing it. I could of easily sold the Nintendo for a minimum of $25.

That wraps up today's post. Hopefully the next one will be full of N64 controller goodness.

Thursday, September 15, 2011

Coming Soon...To an NES near me

Just a quick heads up. Tonight I just purchased the N64 usb chip from http://www.raphnet.net .
It sure beats paying $70 for one off of ebay. I'm pretty pumped and I'm hopin it will install just as smoothly as the ones from retrousb did. Tomorrow I'll be heading out to a flea market to hopefully pick up a controller or 2. As always I'll go through the install. See you then.

Wednesday, September 14, 2011

Transmutation Part 1 1/2

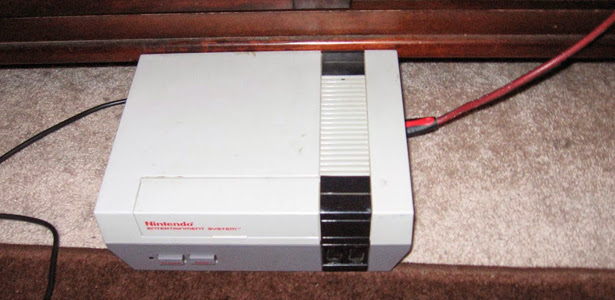
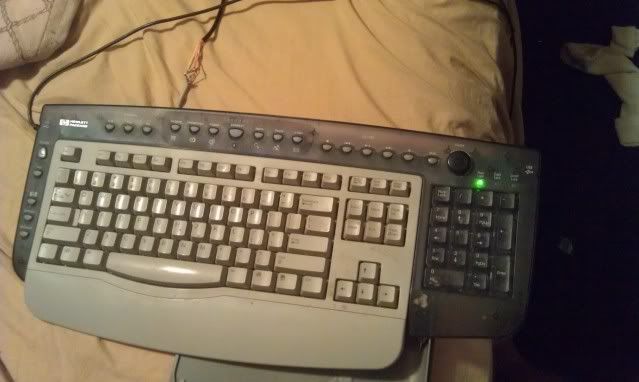
The keyboard is now fully assembled and here are the final results.


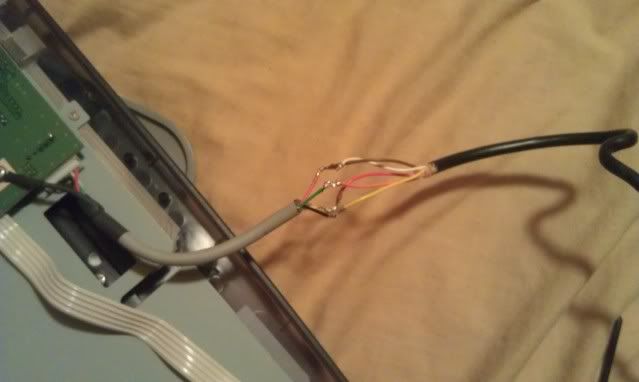
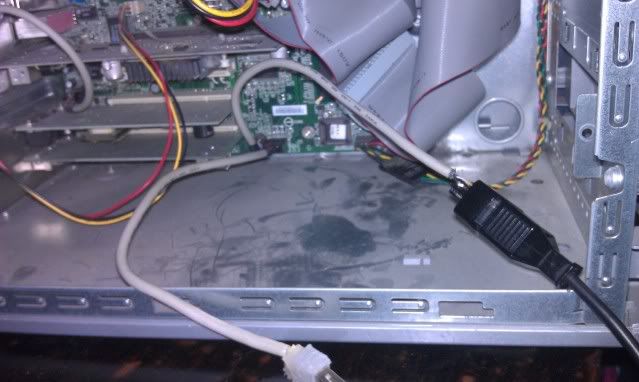
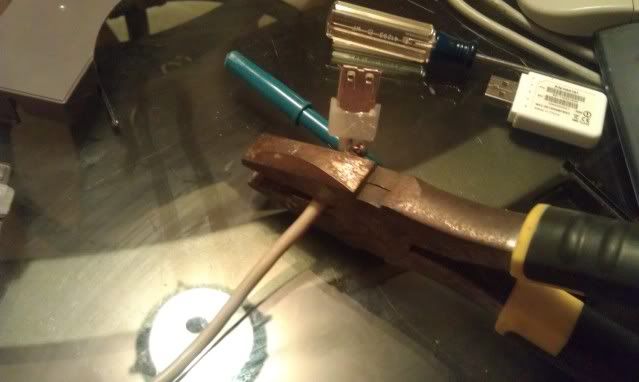
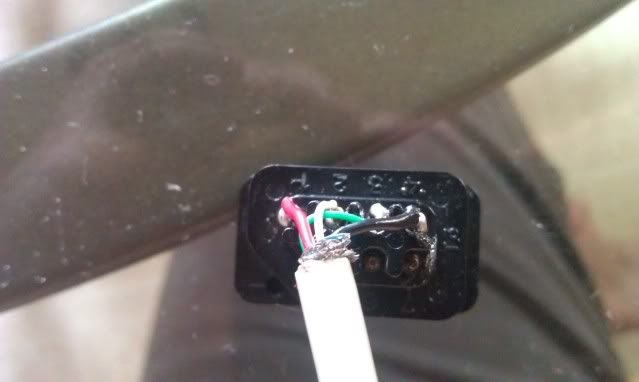
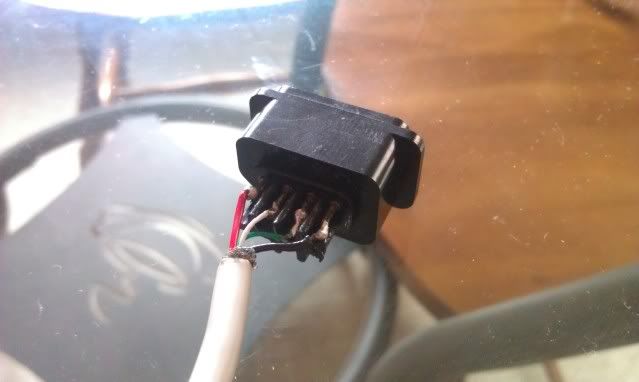
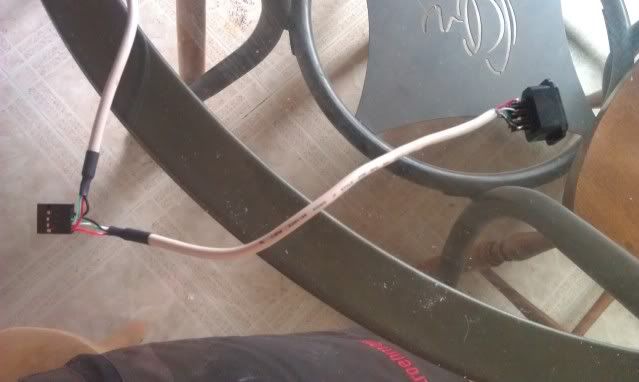
I soldered the NES cord to the keyboard USB cable. The wires are soldered as follows:

USB ---- NES Cord

Red ---- Brown
Green -- Orange
White -- Red
Black -- Yellow

The white wire is not connected to anything so its taped off. The wires are all now taped individually with electrical tape, and then all are wrapped together. Once everything is secure,reassemble the keyboard.


With the keyboard now assembled it's time to try it out.

*********CAUTION!!!**********

Please note that if you decide to try this mod that you are on you own. Which means that if you break your computer it's your fault.

With that being said please try this on a dummy computer aka an old junker first.


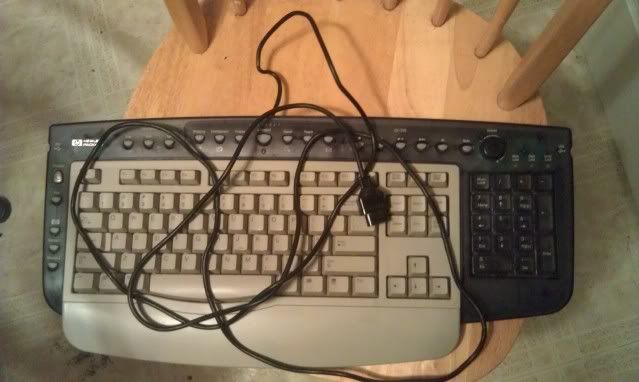
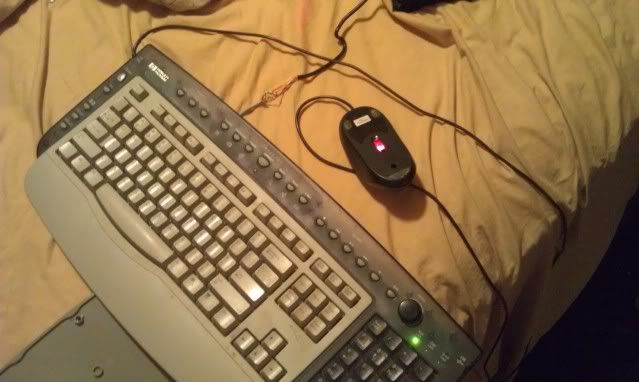
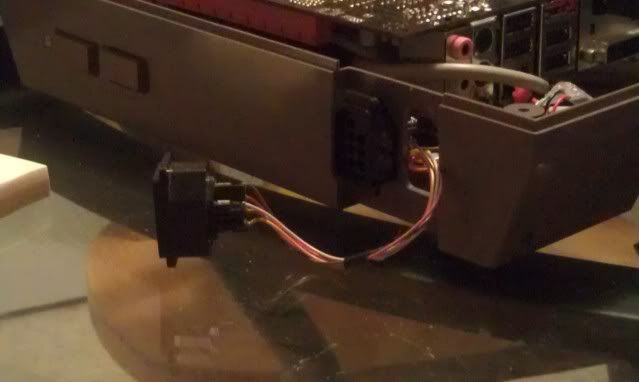
With everything now plugged in and ready to go, fire up the PC. If you did it correctly you shold have power to your keyboard. The keyboard I used also has usb ports so you can hook up a mouse as well.

Please note that these pictures were taken before the keyboard was fully assembled.


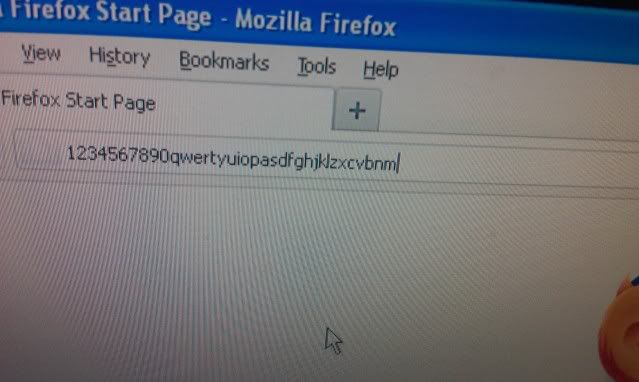
And if all goes well you should be able to do this

NSB Transmutation Part 1

Well I can now say that it's officially been done. I now have a working NSB keyboard. It's done and working perfectly.

The first thing I did was cut the previous USB port that I had on the bottom of the NES. I stripped the wires down exposing the red,black,white,and green wires. I stripped a little bit off of each wire and added some solder and set it aside. I took my NES controller wire and did the same.


I then pulled out my NES Female ports from the build and removed the pins. They slide out very easily so you won't have to cut the wires. With the wires removed and the pins exposed, I added some solder to the pins. I used pins 1-4 on the port. They are numbered on the back. With the solder added, I took the soldering iron and combined the wires with the port.

The ports are wired as followed:
Port 1 = Red
Port 2 = White
Port 3 = Green
Port 4 = Black


And here is what you will end up with.


Later tonight I'll post Part 2 which will show the 2nd half of the build and the keyboard in action. It's going to be epic. :)

Wednesday, September 7, 2011

NSB Connection

So I'm seriously thinking about converting my USB ports into NSB ports. What the heck is an NSB port you ask? Well it's essentially a USB connection where the female connection of the USB is the NES female port. Therefore all external USB connections will be required to have a male NES cord. I dont think its ever been done before. At least not that I know of. I can't really think of any reason why it wouldn't work, because all I'm doing is making the connection.

This also means that I'm going to have to get 2 more retro kits, and make each controller have its own chip. Which also means no NES controller hot swapping :( On a more brighter note though, I'll be able to add N64 and a special NES light gun converion to the mix...I may end up getting stuck using an adapter for the N64 since if you want a controller with a USB attached its like $70 and only one guy makes them,but I'll have to see what I can do.

Oh and as a side note, the only real heat issues I'm having with the build is the hard drive,but its not enough to cause too much concern. I may move it out of the cartridge or I could try a couple of small fans,but we will see.