Title says it all


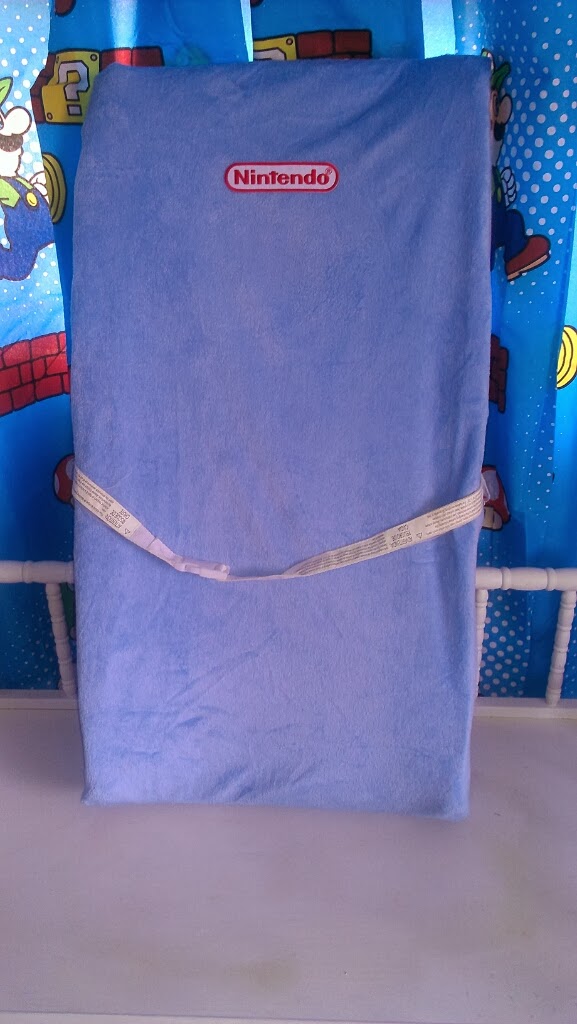
These arrived the other day. They go perfectly with the room.
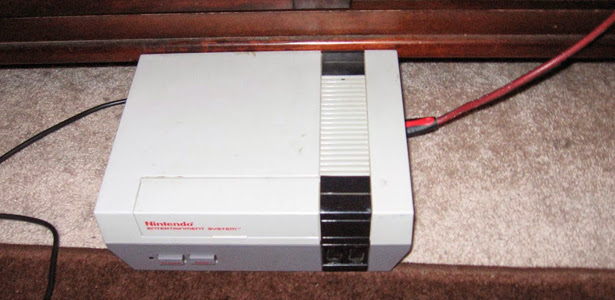
The NES Arcade.

A full fledged gaming console squeezed into a cartridge.
Well as with most of my projects the StarKade was never fully finished. But with my new job I'll have plenty of time to finish my projects. Starting with the StarKade. After scouring the internet more indepth I was finally able to figure out RetroPie. I could never get the controls to change and really didnt know where to start. After reading quite a bit I found the files I needed to edit and with a little bit of luck I was able to get it to work. The Sega controls were never setup with a default joystick. I configured mine to work with A usb nes controller.
Roms are another thing I figured out. I think there is a bug in the retropie build the screws with the rom path and will only launch the first set of roms you add. If you try to go back and add more it will see the roms, but is unable to launch them. To fix this you must put the full path to the roms in the es_systems.cfg file.
It's very dark but here is a shot of Genesis working.

Does your game gear suffer from a white screen or black screen? Do you have to angle it at weird angles to play it? No sound you say? Well have no fear so does just a out every Sega Game Gear ever made. The problem is from a bad batch of capacitors from that era. This can be easily remedied by replacing the caps. Although it takes time and patience it's not all that difficult to do. Soldering takes time and patience so use both of those if you think you would like to attemp the repair. Here are some helpful tips.
Tips


Capacitor List for VA1
C1 33uF 6.3V
C4 10uF 16V
C11 10uF 16V
C14 10uF 16V
C42 10uF 16V
C43 22uF 6.3V
C45 4.7uF 35V
C47 68uF 6.3V
C49 100uF 4V
C54 0.47uF 50V
C55 0.47uF 50V
C68 100uF 6.3V
After it's all said and done this is what it will look like.


Next post will be fixing the soundboard
.
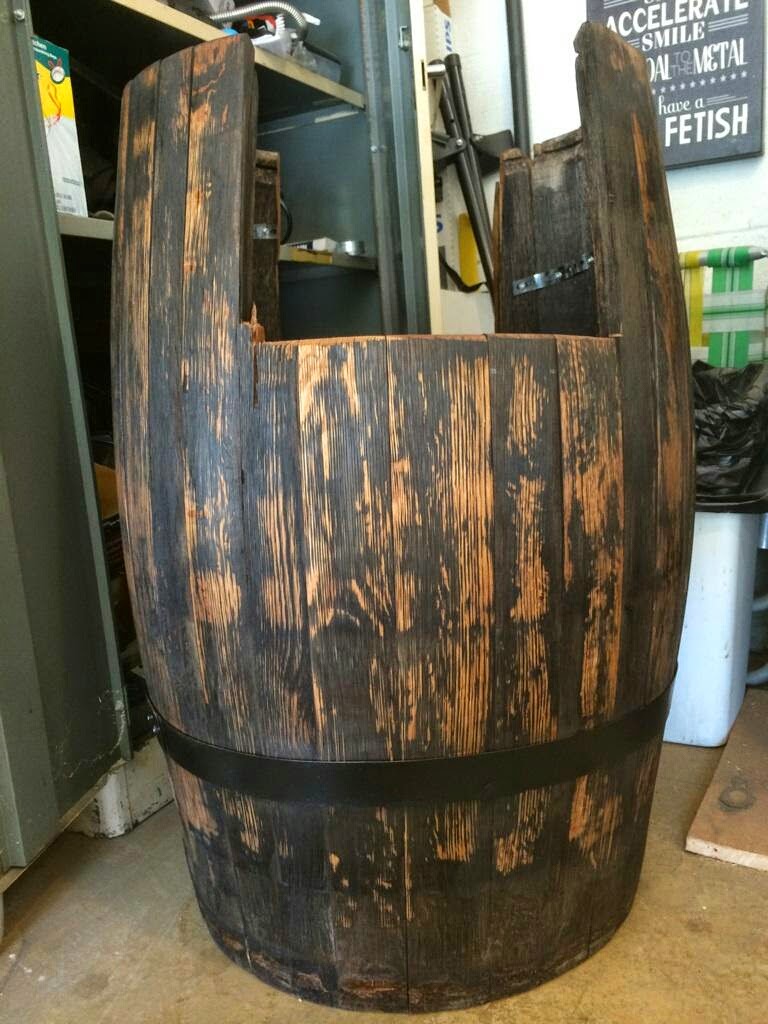
My brother made tremedous progress on his barrel. It's shaping up nicely.
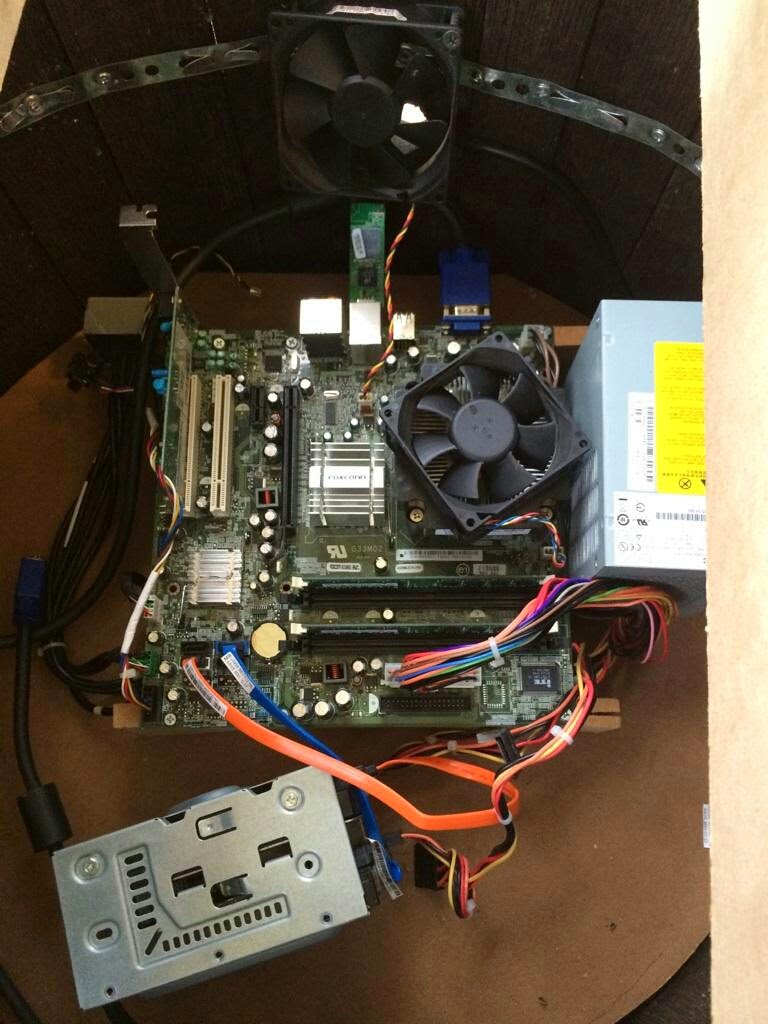


My brother got his arcade inserted. It's strapped together, for now but he picked up some new rings for it. Just has some x-arcade sticks and buttons. Runs an intel core2duo 2ghz processor and has a 750gig hard drive.


Just a quick look at my arcade's control panel. My controls are controlled by 2 gamepad pro controllers. I'm switching over to the i-pac 2. Running an Optiwiz for the trackball. It's the original trackball for the cab. I put new bearings in the trackball. For the joysticks I'm using 2 Servostiks. Although I have yet to hook them up. I haven't had much time to work on it, but it's coming together.
Eventually I'll be upgrading the computer. Probably to an A10 6800. Right now it's running the e3400 dual core celeron from my Spintendo. 4gigs of RAM, 120gig hdd for the OS and 2 terabytes for all the fun.
The gaming drive is about half full. I have just about every system on here with the exception of gamecube,wii, and ps2.


Basically just made some rough cuts and tacked it together. This is the end result. We will be switching to 1/2" mdf to make it lighter. For my brothers will be adding a 3rd control panel for horizontal single player games.
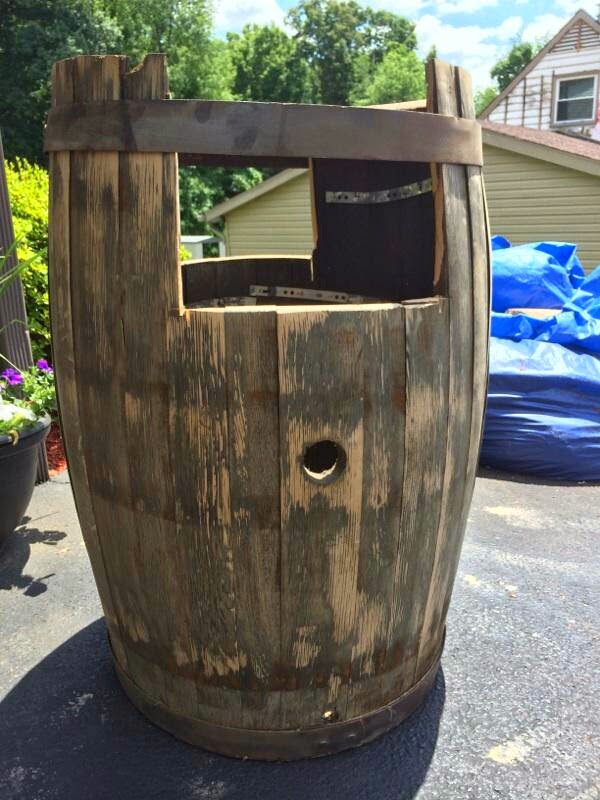
Inspired by the build "A Barrel of Kong" as seen below.

I obtained 2 different barrels as I will be doing 2 of these builds at the same time. Barrels need a little work, but over all aren't bad. My brother, who will be working on this with me, will be rolling a few new rings for them.


Hey guys…
I'd like to share a project that I've been working on with a few others for the past few months – the first public project to attempt 3DS emulation. "Citra" (https://github.com/bunnei/citra/) is an experimental Nintendo 3DS emulator/debugger written in C++ (and licensed under GPLv2).
At this time, it is in the very initial stages of development, and is only capable of running homebrew. It currently supports:
ARM9/ARM11 interpreter for the 3DS "appcore" – the processor core dedicated to running user applications
(Some) OS HLE to support userland interaction with the various 3DS OS services
Loading of ELF and launcher.dat files
Framebuffer rendering
Debugger with ARM11 disassembler, register view, callstack and symbol loading (written in Qt)
Supported on both Linux and Windows (MS Visual Studio 2013 Express)
I want to emphasize that for the long-term, this project will only (potentially) be useful to developers – there are many non-existent components that are absolutely essential to even loading a commercial game (and furthermore there is no gamepad or hardware 3D support, among many many other things).
Anyone interested in the project please checkout #citra on Freenode – there is no website/forums.


On a side note I also picked up a 20" wide screen monitor. I'm debating on whether I should make the switch. If I do then I'll probably make it physically rotate depending upon the games and systems.


I was having trouble with my trackball not working properly. I put it away for months and decided to do a rewire last night. I rebuilt the original Millipede trackball and all is working well now.

Night Of The Meteor
I'm really lookin forward to this being finished. It's a remake of the classic Maniac Mansion. The art style is done up like Day of the Tentacle. Which is another great game. Thanks to klopjero over at hyperspin for discovering and posting this little gem.
Go to http://www.night-of-the-meteor.de/en to check out the progress.

Well I had originally given this cab away 2 times. First to a fellow hyperspinner, but then my little bro asked for it but He never picked it up so I ended up taking it with me when I moved. The cab itself is in great shape. I had planned on restoring it. In the process of restoring the cab I found out the the color red was bad on the tube. Then after that something went wrong with the gameboard. So after all that I decided to convert it. How could you do something like that they cry? Well I can do it because it's mine. It's been in the family for 30 years and probably will be for many more after that.
So growing up I was a huge fan of Zombies Ate My Neighbors. I decided to theme the arcade after that game. There is a guy over at devine art who drew a crap load of Zombie video game characters. They are freaking awesome! All props go to him. I have his name written down somewhere but can't remember it at the moment.
To achieve a good print I needed some vectorized art. His charcter files are large,but not large enough to use without losing the quality. Below is a screenshot of his original and my redraw. His has more detail and shadowing, but mine isn't too shabby either.