
Well I can now say that it's officially been done. I now have a working NSB keyboard. It's done and working perfectly.
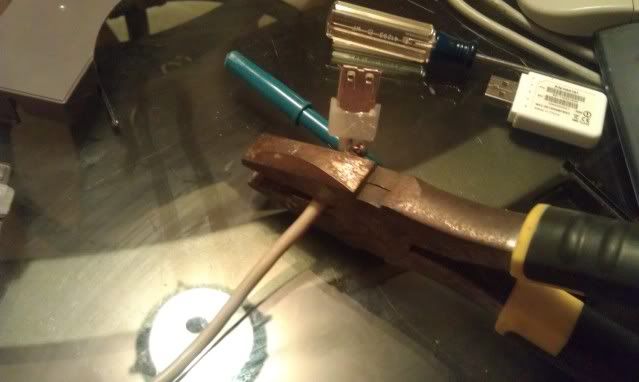
The first thing I did was cut the previous USB port that I had on the bottom of the NES. I stripped the wires down exposing the red,black,white,and green wires. I stripped a little bit off of each wire and added some solder and set it aside. I took my NES controller wire and did the same.
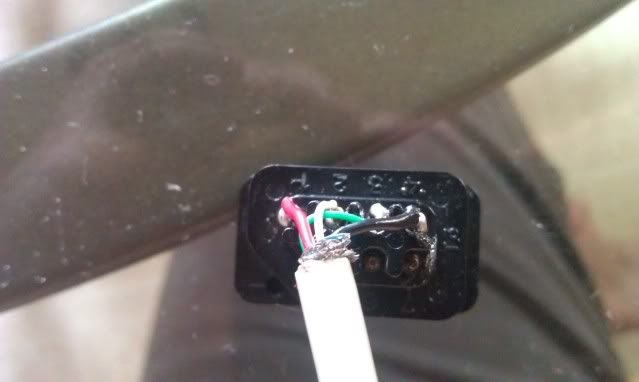
I then pulled out my NES Female ports from the build and removed the pins. They slide out very easily so you won't have to cut the wires. With the wires removed and the pins exposed, I added some solder to the pins. I used pins 1-4 on the port. They are numbered on the back. With the solder added, I took the soldering iron and combined the wires with the port.
The ports are wired as followed:
Port 1 = Red
Port 2 = White
Port 3 = Green
Port 4 = Black
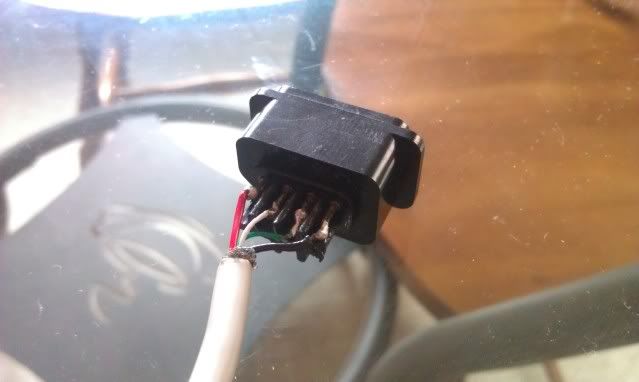
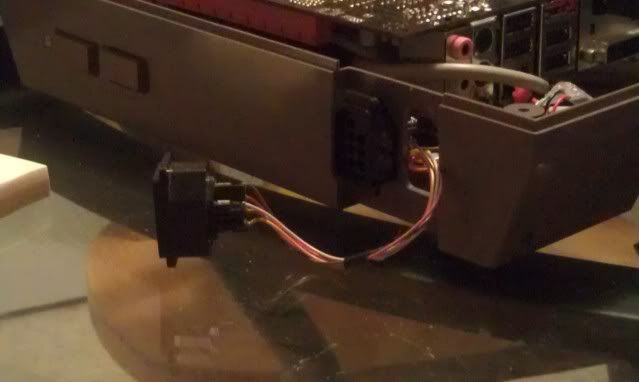
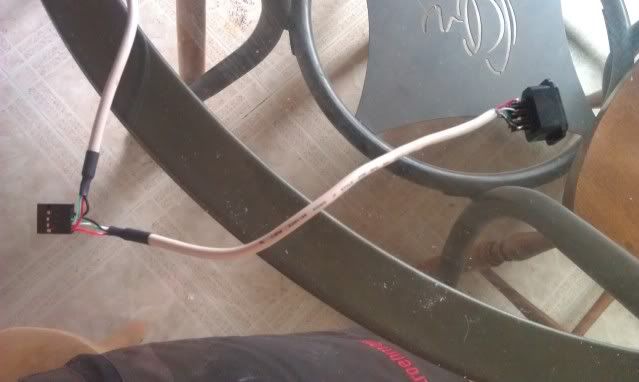
And here is what you will end up with.
Later tonight I'll post Part 2 which will show the 2nd half of the build and the keyboard in action. It's going to be epic. :)


0 comments:
Post a Comment