
If you have been following along you should remember that one of the things I wanted to accomplish was converting an SNES Controller to work with the system ports. Well, I've successfully managed to do so with ease.

Desolder your NES controller like so. All you have to do is heat up the solder and the and pull the wires out. They will come out relatively easy. You now have the cable you will be using to for the SNES controller.

Take the SNES controller apart. Be careful not to loose the pins for the L and R buttons. They have a tendency to pop out.
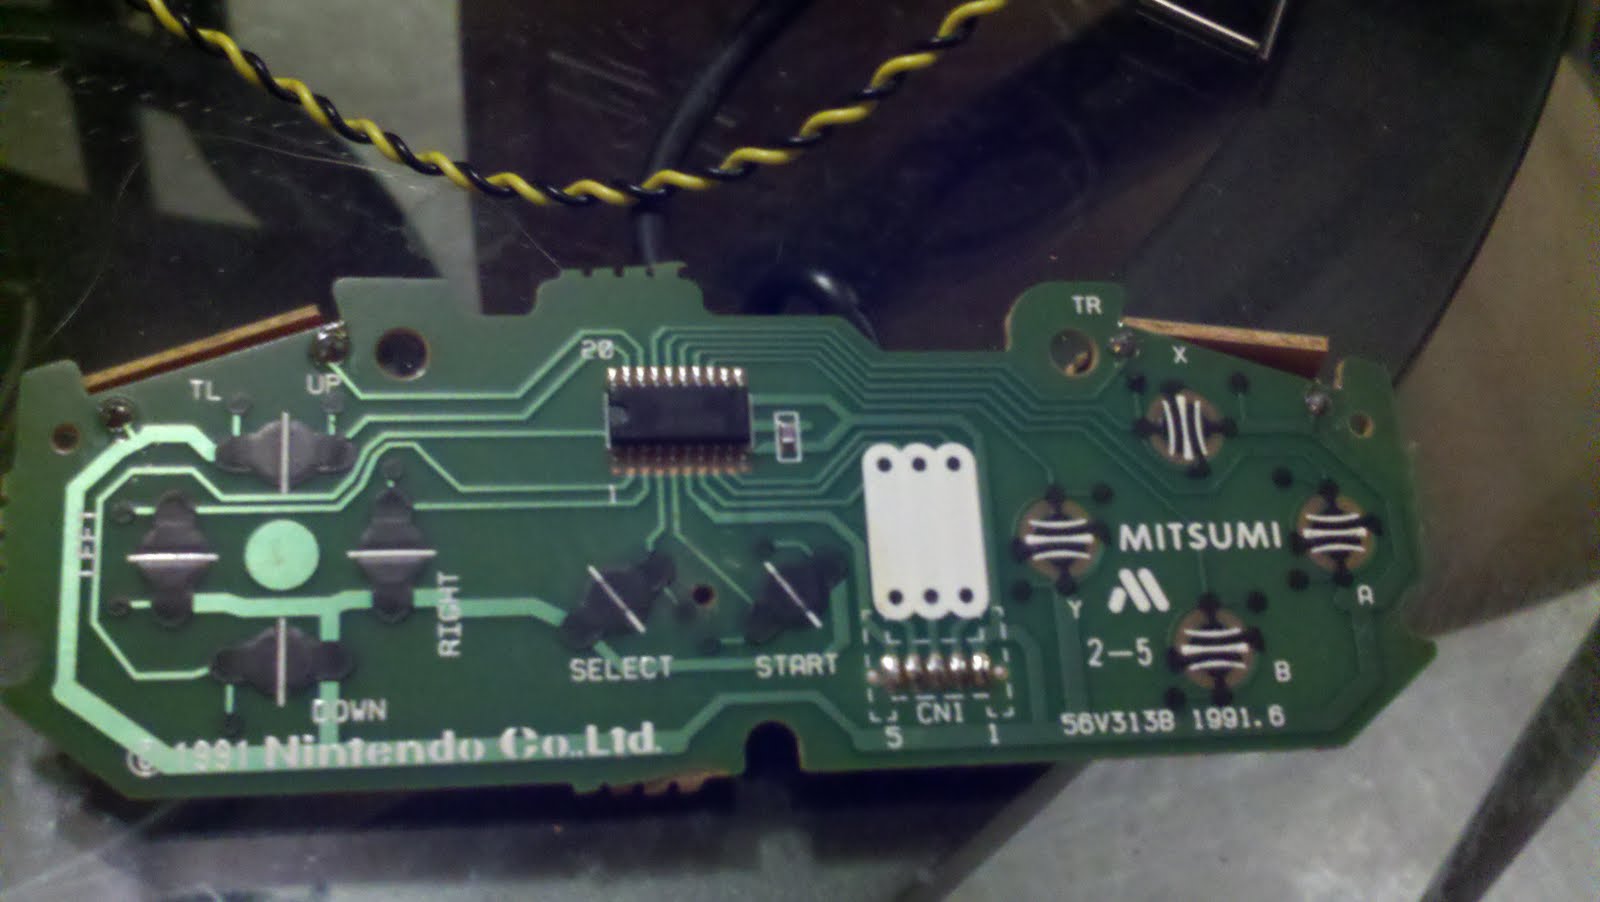


Pull the connector out of the SNES controller board and cut the SNES cord about 2inches from the connector.

Solder the wires to the nes cord like the picture. In order for the SNES controller to work you have to switch the red and yellow wires. Once that's done the retro chip will be able to read the button input. Put some electrical tape on the soldering spots, and hook the connector back to the board. Put everything back together and and shove it all back in. Be careful where you stick your wires so they don't get pinched.

Here is the final result. I took the NES buttons and retrofit them to work with the controller. I added 2 thin slices of rubber in each button and put it all back together. I did this to make the buttons feel like they should. The NES buttons were deeper than the SNES so I had to compensate.


0 comments:
Post a Comment