New Nursery Curtains
These arrived the other day. They go perfectly with the room.
The NES Arcade
The NES Arcade.
NES Cartridge Star Kade
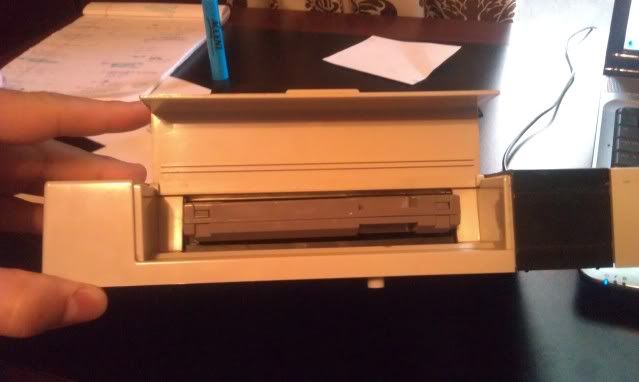
A full fledged gaming console squeezed into a cartridge.
Wednesday, August 24, 2011
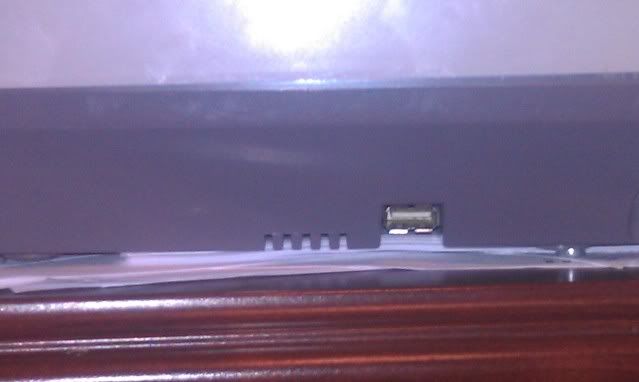
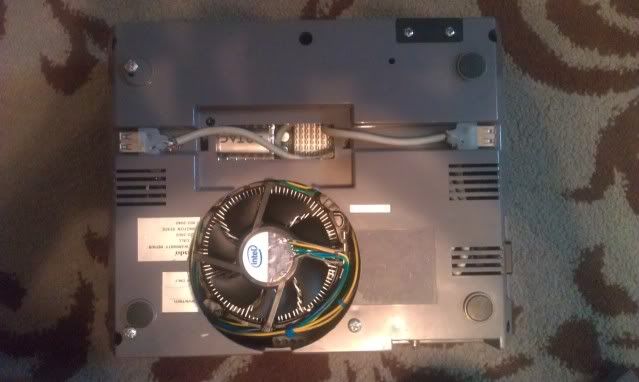
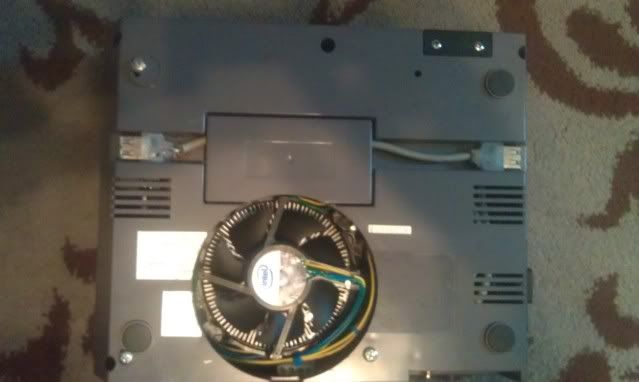
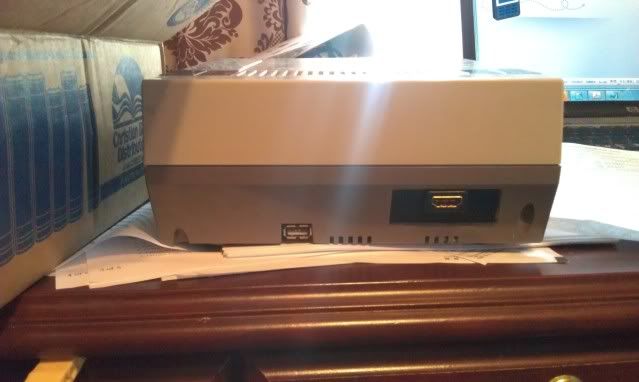
USB Ports
Wednesday, August 3, 2011
Back at last
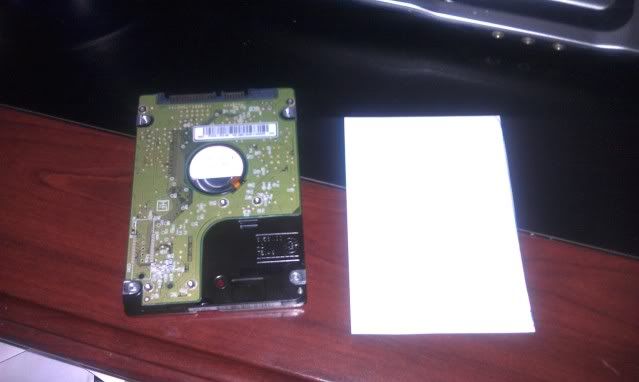
I made a quick cut out of the hard drive
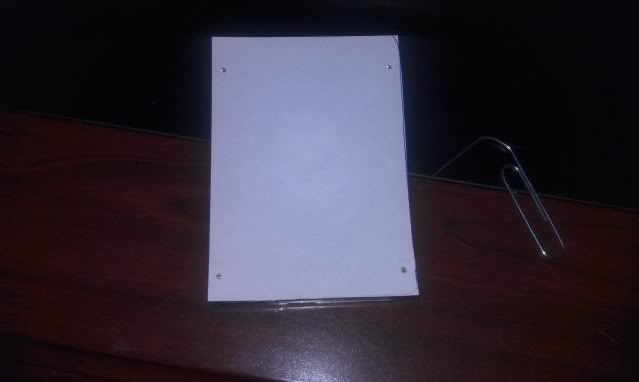
I then laid the cut out on top of the hard drive, and took a paper clip and poked holes into the bottom screw holes of the hard drive.
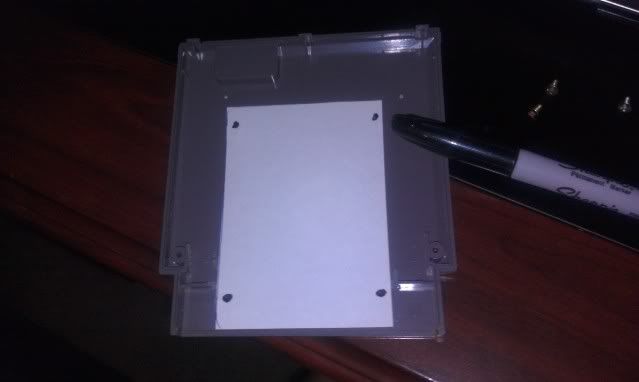
With your template made, place it onto the center of the bottom cartridge,and take a marker and mark the spots on your cartridge.
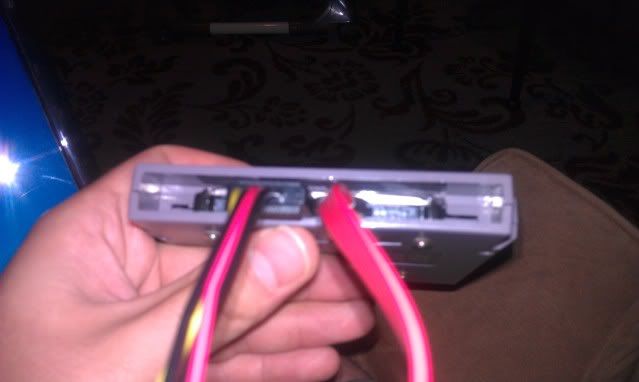
As a a side note once you've opened your NES cartridge you'll need to take your dremel and cut away the center screw hole,the 2 little prongs, and cut all but 1/2" of the cartridge slot.
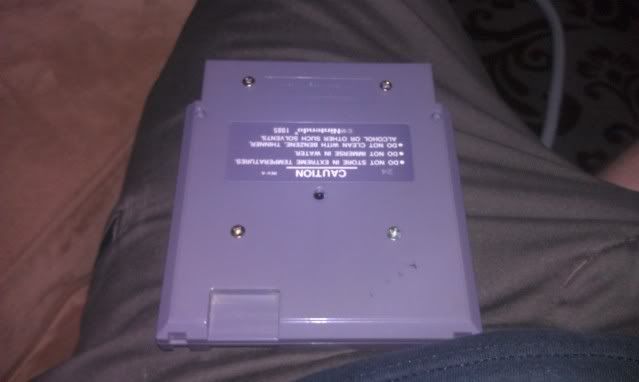
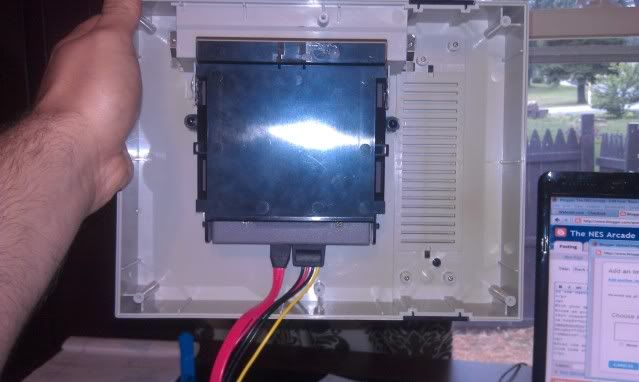
With your spots marked you'll now be able to drill the correct spots for your screw holes as pictured below.
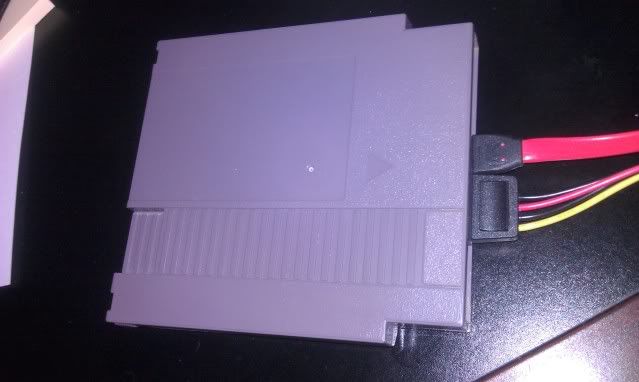
After the drive is mounted you'll close up the case, and you're final result will look like this.


