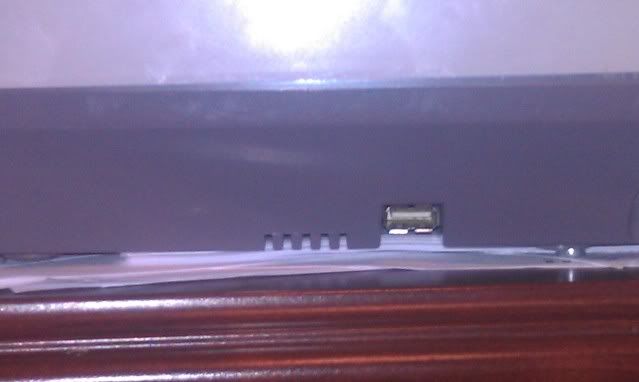
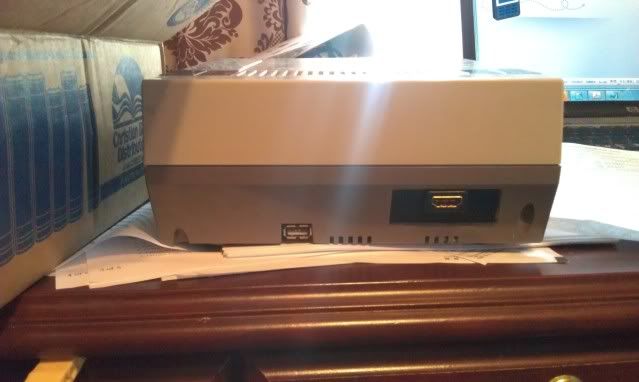
New Nursery Curtains
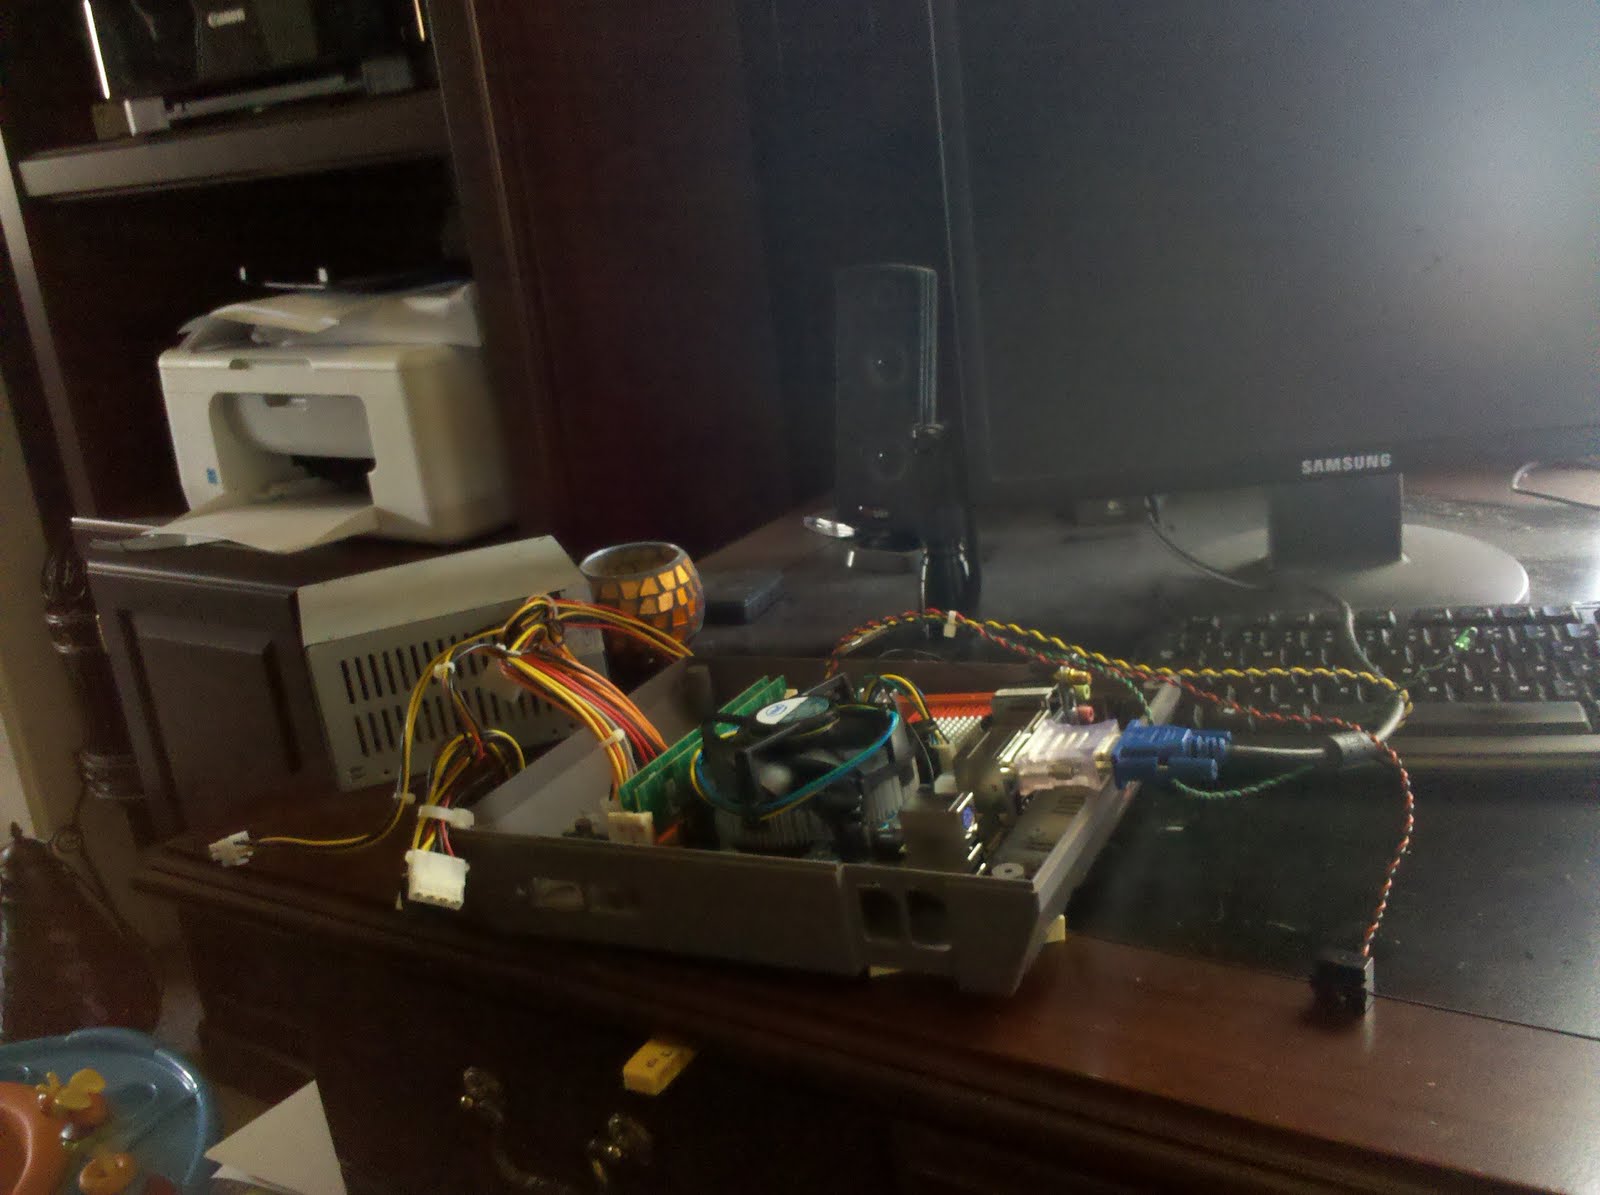
These arrived the other day. They go perfectly with the room.
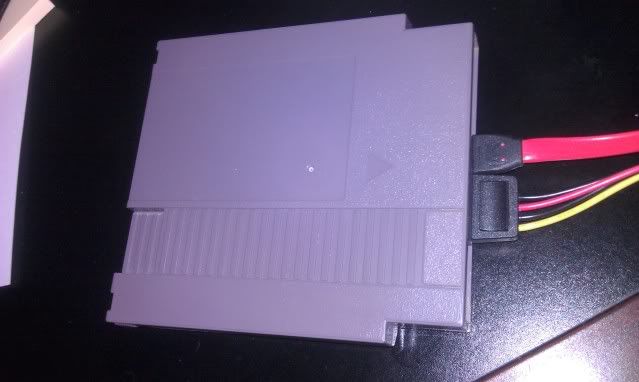
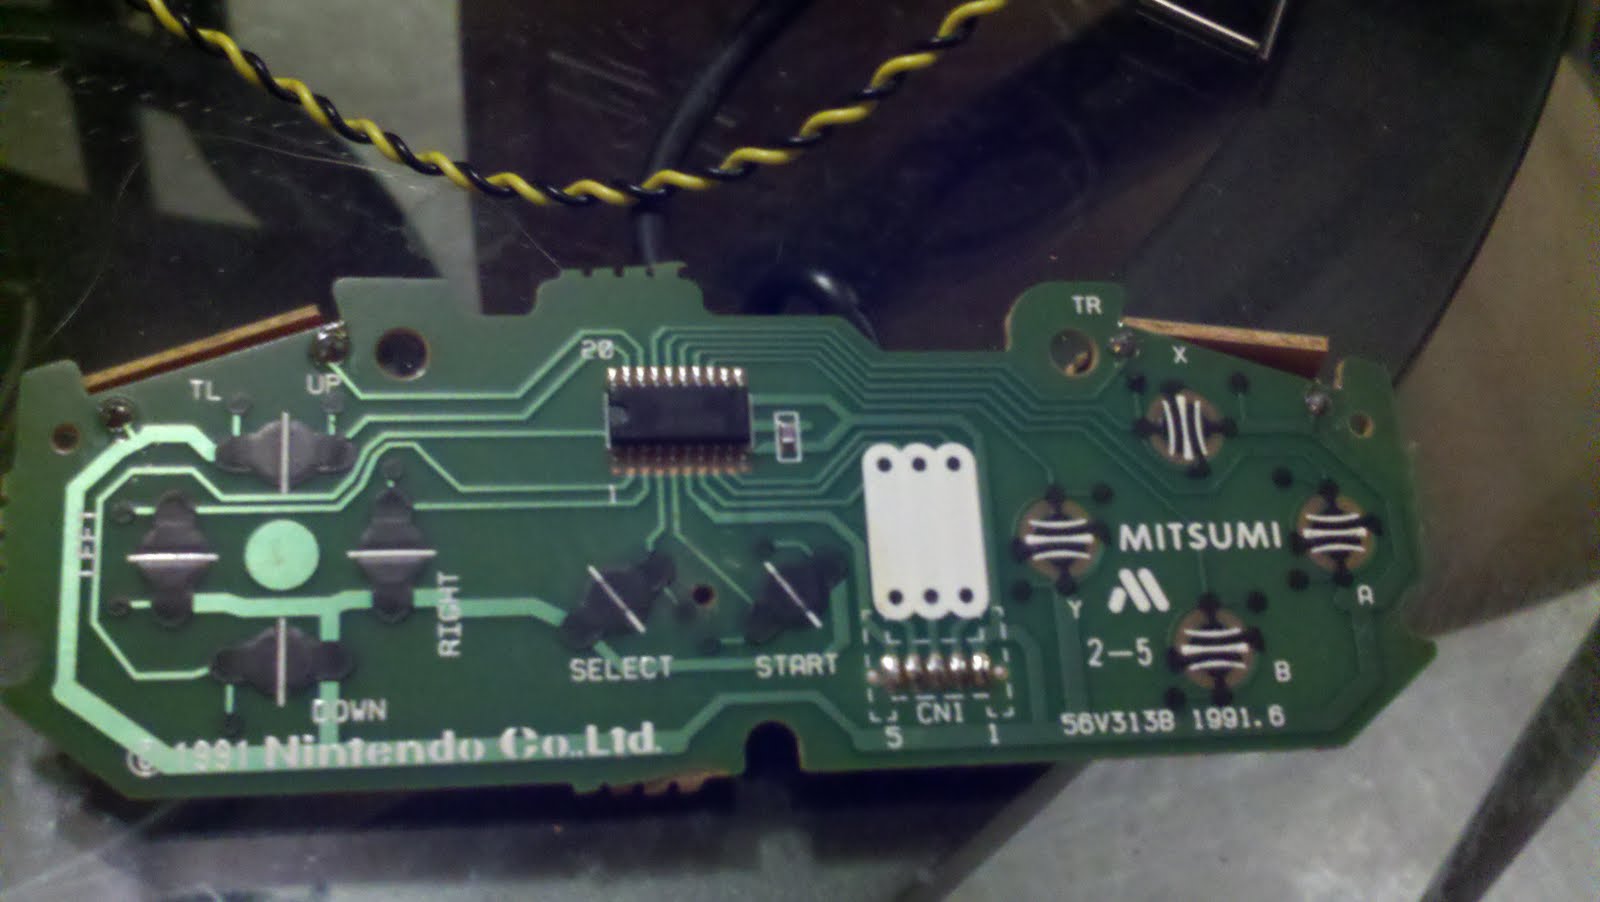
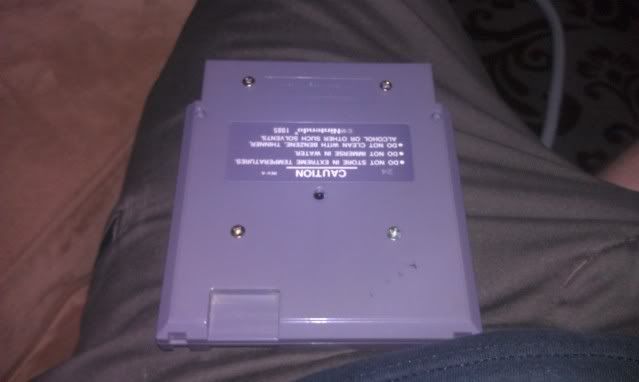
The NES Arcade
The NES Arcade.
NES Cartridge Star Kade
A full fledged gaming console squeezed into a cartridge.
Wednesday, August 24, 2011
USB Ports
Wednesday, August 3, 2011
Back at last
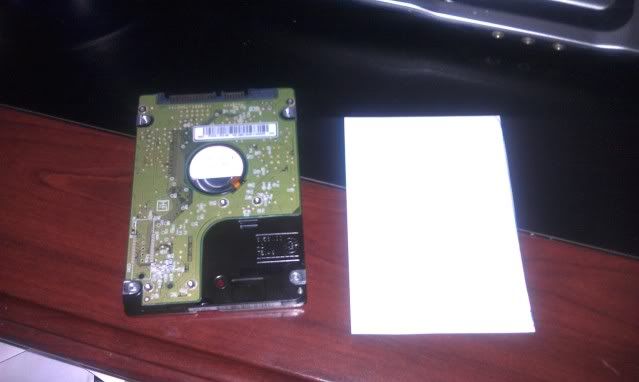
I made a quick cut out of the hard drive
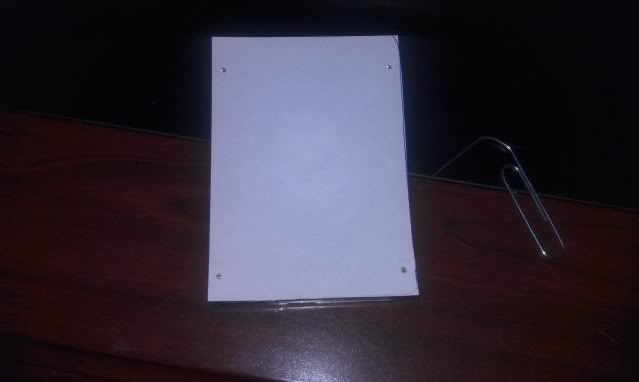
I then laid the cut out on top of the hard drive, and took a paper clip and poked holes into the bottom screw holes of the hard drive.
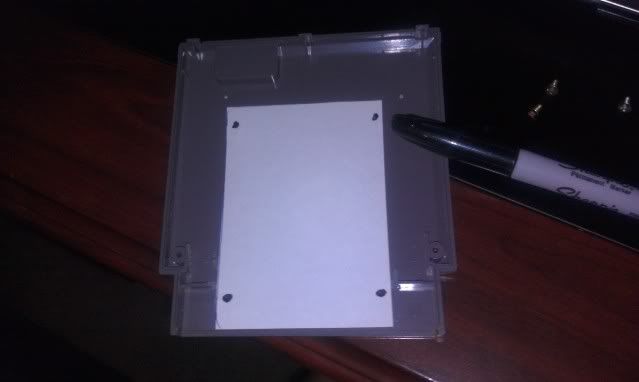
With your template made, place it onto the center of the bottom cartridge,and take a marker and mark the spots on your cartridge.
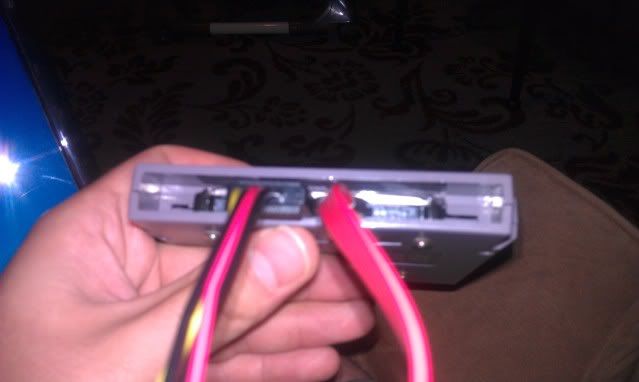
As a a side note once you've opened your NES cartridge you'll need to take your dremel and cut away the center screw hole,the 2 little prongs, and cut all but 1/2" of the cartridge slot.
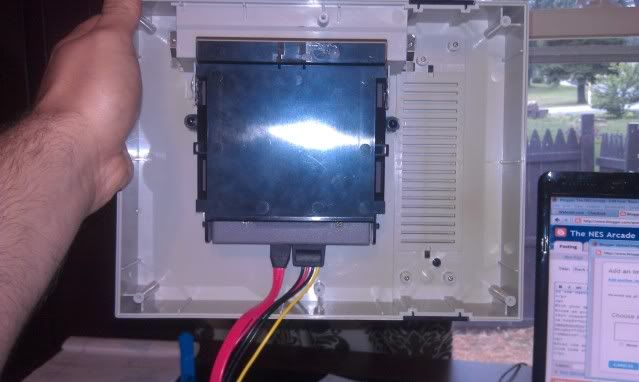
With your spots marked you'll now be able to drill the correct spots for your screw holes as pictured below.
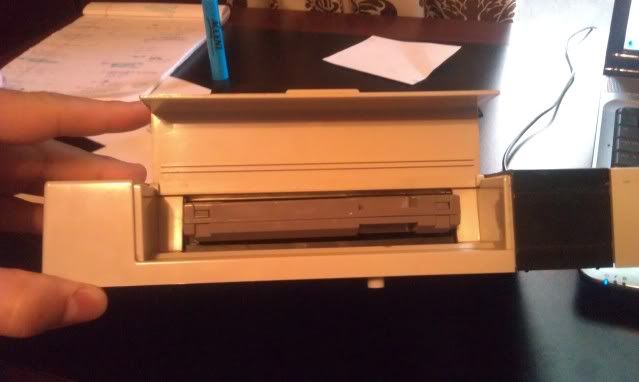
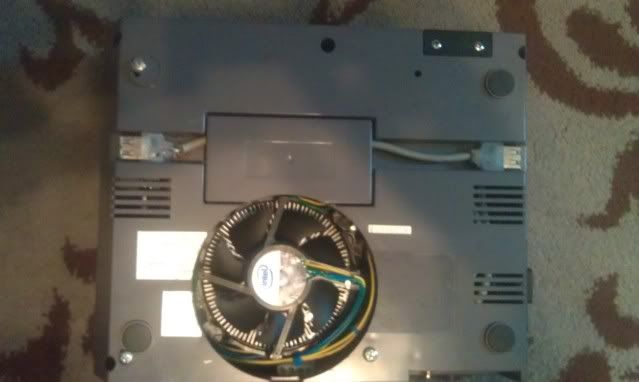
After the drive is mounted you'll close up the case, and you're final result will look like this.
Wednesday, July 13, 2011
Small Set Back
Tuesday, June 7, 2011
NTV
Everything you see has been completely redrawn/made in Illustrator.
Tuesday, May 31, 2011
Update
I ended up installing windows 7 on it because I couldn't get windows xp to install via usb. Since it has SATA and not IDE I couldn't just simply use a cd drive to install the OS...well I could of but I didn't want to spend money on something I'll probably only use once. It boots up pretty fast, and Hyperspin runs flawlessly. Well almost anyways. There's like a 3 sec delay when it first boots up, but to be honest with you it's not that big of a deal. I was playing some classic NES with the controllers and they worked out great.
I also took an old NES cart that was broken and stripped the sticker off. Now let me tell you something...removing that glue was a pain in the butt. Basically I soaked it for like 3 days and peeled the label off. They label came off pretty easily but the glue remained. After soaking for a few more days I managed to get it off. That sure was some sticky glue. That's it for now. The system is no where near done. Why rush a good thing.
Some things I need to do are...
- Mount Everything(such as power plug,wifi,and hdmi)
- Mount the hard drive in the cartridge
- Buy a fan grill
- Work on a custom design
- Sand,sand,and more sanding
- Decide on paint
Wednesday, May 18, 2011
Retro Conversion
Desolder your NES controller like so. All you have to do is heat up the solder and the and pull the wires out. They will come out relatively easy. You now have the cable you will be using to for the SNES controller.
Take the SNES controller apart. Be careful not to loose the pins for the L and R buttons. They have a tendency to pop out.
Pull the connector out of the SNES controller board and cut the SNES cord about 2inches from the connector.
Solder the wires to the nes cord like the picture. In order for the SNES controller to work you have to switch the red and yellow wires. Once that's done the retro chip will be able to read the button input. Put some electrical tape on the soldering spots, and hook the connector back to the board. Put everything back together and and shove it all back in. Be careful where you stick your wires so they don't get pinched.
Here is the final result. I took the NES buttons and retrofit them to work with the controller. I added 2 thin slices of rubber in each button and put it all back together. I did this to make the buttons feel like they should. The NES buttons were deeper than the SNES so I had to compensate.
Take your NES female port and cut off the connector on the end. Solder everything like the pictures below and you will have a working HID. To test it out open up Your fav NES emulator and SNES and configure the keys. You have now successfully made a nice retro conversion.
Thursday, May 5, 2011
First boot
Here's some snaps and the vid.
The video quality isn't the greatest since it was takin with my phone. I'm sure you get the idea though. Nothing too exciting is happening yet, but it will be soon.
Wednesday, May 4, 2011
And so it begins
Today I started hacking away at the NES base to make room for the motherboard,and all the other parts needed to run it. I used a dremel to remove all the unnecessary screw posts. I'm going to see if I can avoid removing the raised part of the case,but if I can't then I'll have to come up with a way to make in not look horrendous. I'll most definitely need to cut a hole to vent the CPU, and I plan on having a custom grill made to cover it.
I chose a dual core celeron processor because it produces less heat than most others processors. But wait a min...aren't celerons suppose to be like the worst processor ever? Well that's what I had originally thought as well. I mean earlier generations were known for being these weak pieces of garbage that weren't even worthy of being called dog crap. However, the newer dual cores actually have some power behind them while maintaining a cheaper price. The processor itself is just slightly less powerful than the Pentium dual core e5300, but it's about $27 cheaper as well. I could of went with a fan-less 1.8ghz atom processor, but I need something a little more powerful since I'm using Hyperspin for the front end.
The power supply is from mini-box.com. It's an external power supply much like a laptop. I chose it to save space,and also to keep the original look. I also decided on 2 gigs of ram instead of 4 since I don't really need a powerhouse PC. A 250 gig 2.5 laptop sata hard drive...should be plenty for what I need.
I chose to go with retro kits (the kind you solder) from retrousb.com so that I could use the original ports as a plug and play for different controllers. Speaking of controllers...Why in the world do I have 6 controllers listed? Well 4 I'm gonna mod and 2 I'm going to destroy. I'm going to have the Nintendo logo back lit on the originals just to make in look cool. That's why I needed the LED's and the resistors. As for the other 4...The 2 generic controllers are only needed for the cord. My plan is to mod the SNES controllers to work in the NES port...In theory it should work. I mean both controllers are wired up almost identically. So if it works hooray! If it doesn't...then I'm out some controllers and some money.
Well that's the run down of the parts. Next post I'll have some pictures, and possibly a video of the first trial boot of the motherboard.
Sunday, May 1, 2011
The Nes Arcade...sort of
My primary goal for this project is just to have fun, and relive the good old Nintendo glory days. I'm hoping as my daughter grows older this is something she'll come to cherish. Because isn't that what every retro gamer wants?
So in order for this project to begin you will need to acquire a list of items. I'll layout my specs just to make it easier for me.
- One Nintendo (broken but in good shape) - $2
- Zotac MB G43ITX-A-E (mini-itx motherboard) - $77.84
- 2 gigs of PC2 6400 RAM - $29.99
- Intel Celeron E3400 2.60 GHz Processor $49.99
- Western Digital-Scorpio Blue 250GB Internal Serial ATA Hard Drive - $44.99
- 2 RetroKits from Retrousb - $30
- picoPSU-150-XT DC-DC 150W PSU with AC-DC 12V 12.5A Adapter $77.95
- 2 Original NES controllers - Free
- 2 Knock Off NES controllers - not acquired yet
- 2 SNES controllers - not acquired yet
- 1 2pk of 5mm leds - $2
- 1pk 68ohms resistors
- NES colored Paint - not aquired yet
- Your Favorite Arcade Front End (Hyperspin)
Well I think that's it for the needs list. Next post I'll delve into the tools, why I chose the parts I chose, and the beginnings of the hack away.
Oh and thanks to buddman/wesman6960 for the awesome inspiration!


